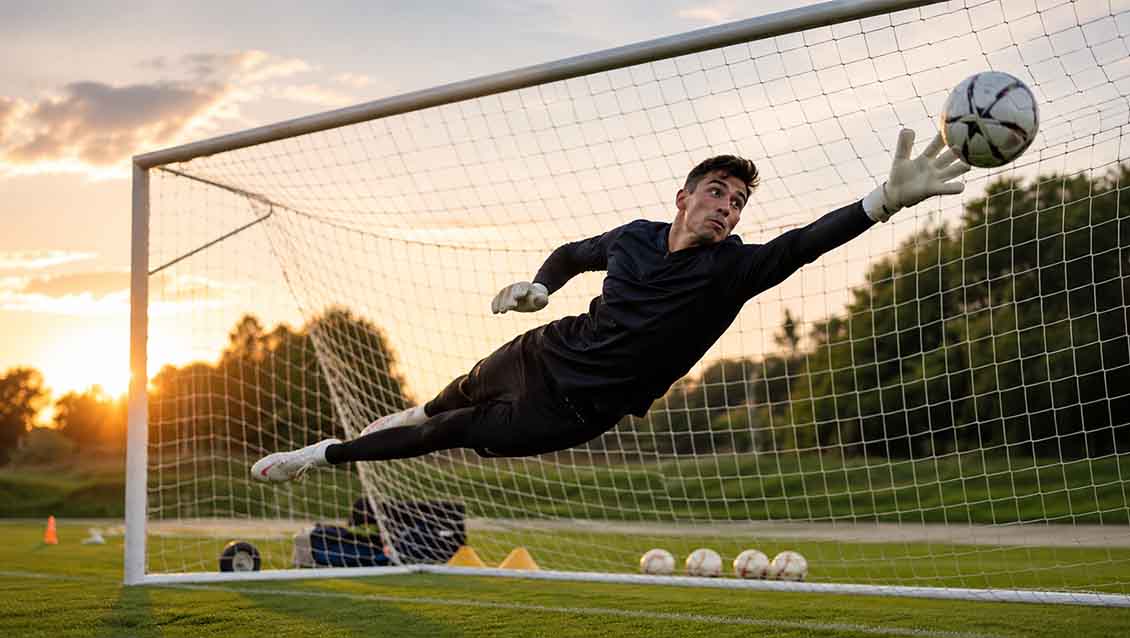
Most goalkeepers train the same way every session. Face a few shots, dive left, dive right, done. That might feel like progress, but repeating the same routine does not build the skills that actually matter on match day.
Goalkeeping is different from every other position on the field. An outfield player can have a quiet game and still be useful. A goalkeeper cannot hide. One slow reaction, one Slip-up catch, one moment of bad positioning, and it is a goal. That is why goalkeeper training needs to cover much more than just shot stopping.
Good goalkeeping needs quick feet, fast hands, smart positioning and calm decision-making. You build those things separately, through focused drills, and then put them together in match situations.
This guide covers 10 goalkeeper training drills that target different skills. Each drill tells you what to do, how to do it, and what it improves. Whether you are just starting or trying to earn your spot in the first team, you can use these drills straight away.
Important Disclaimer
The exercises and training advice in this article are for general information purposes only. Always warm up properly before training. If you have any existing injuries or medical conditions, consult a qualified physiotherapist or sports doctor before starting any new training programme. VanoraHub is not responsible for any injuries sustained while following this guide.
Why Goalkeeper Training Matters
A goalkeeper who only practises during team training misses out on the individual work that makes the biggest difference. In team sessions, the focus is on the outfield players. The goalkeeper might face 10 or 15 shots in an hour. That is not enough to build sharp reflexes or clean technique.
Footwork, diving form, handling, reactions and positioning all need separate, focused practice. Think about it this way. A striker practises finishing on their own. A midfielder works on passing. A goalkeeper should do the same with saves, footwork and distribution.
Two to three dedicated goalkeeper sessions per week, on top of team training, is enough to see clear improvement within four to six weeks. Each session should focus on one or two skills rather than trying to cover everything.
Equipment You Need
You do not need much. Here is what helps:
- Goalkeeper gloves
- 6 to 8 footballs
- An agility ladder
- Minimum 10 training cones
- A reaction ball (cheap and very useful)
- A goal or rebounder
- A training partner or coach
If you train alone, a rebounder net is the best investment you can make.
The 10 Best Goalkeeper Training Drills
Drill 1: Rapid-Fire Shot Stopping
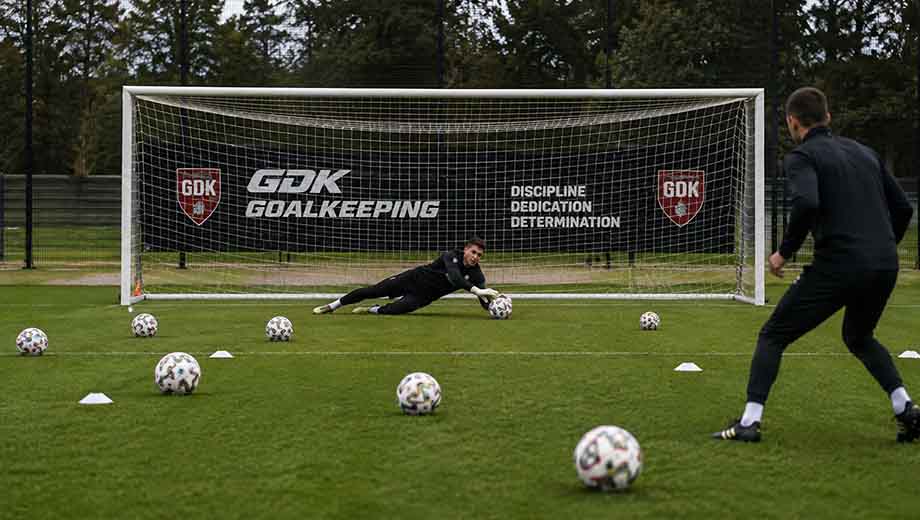
A server fires continuous shots at pace from 12 yards. The goalkeeper must reset their feet between each save, simulating the back-to-back chances that occur during sustained pressure in a match.
| Sets | Reps / Duration | Rest | Equipment | Difficulty | Football Benefit |
| 3 | 10 shots per set | 45 sec | Goal, balls, server | Intermediate | Builds save frequency and recovery speed |
How to perform this drill:
- Set up 8 balls on the edge of the penalty area.
- Goalkeeper starts in the centre of the goal in a ready position weight on the balls of the feet, hands at waist height.
- Server fires one shot every 4 to 5 seconds, mixing height and direction.
- Goalkeeper saves each ball and immediately resets to the centre of the goal.
- Maintain intensity for the full set before resting.
Common mistake: Staying low after a save instead of resetting. I see this constantly with younger keepers they make a good save, then stay on the ground for a second too long. In a match, the rebound is already on its way. Always return to the centre before the next shot.
Coaching tip: Vary shot placement unpredictably. If the server always goes left-right-left-right, the goalkeeper starts anticipating rather than reacting, and the drill loses its value.
Drill 2: Lateral Ladder Footwork
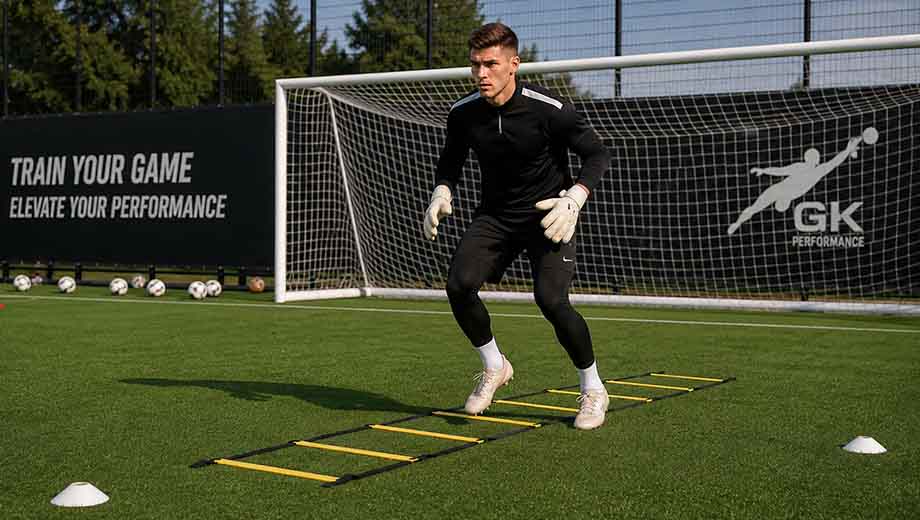
An agility ladder drill that trains quick, controlled lateral movement the foundation of good positioning between the posts. This is one of the best goalkeeper footwork drills for any level.
| Sets | Reps / Duration | Rest | Equipment | Difficulty | Football Benefit |
| 4 | 30 sec per rep | 30 sec | Agility ladder | Beginner | Improves lateral speed and foot coordination |
How to perform this drill:
- Place the agility ladder parallel to the goal line.
- Start at one end in a ready stance knees slightly bent, weight forward.
- Sidestep through each rung using quick, precise steps.
- Do not cross your feet. Keep both feet active in every rung.
- Complete the full ladder length, jog back, and repeat.
Common mistake: Looking down at your feet. Keep your eyes up, scanning the pitch, exactly as they would be during a match.
Coaching tip: Time yourself on every rep and log it. I started timing my keepers on this drill three years ago, and the data made a real difference they could see their improvement week by week, which kept them motivated through the boring early sessions.
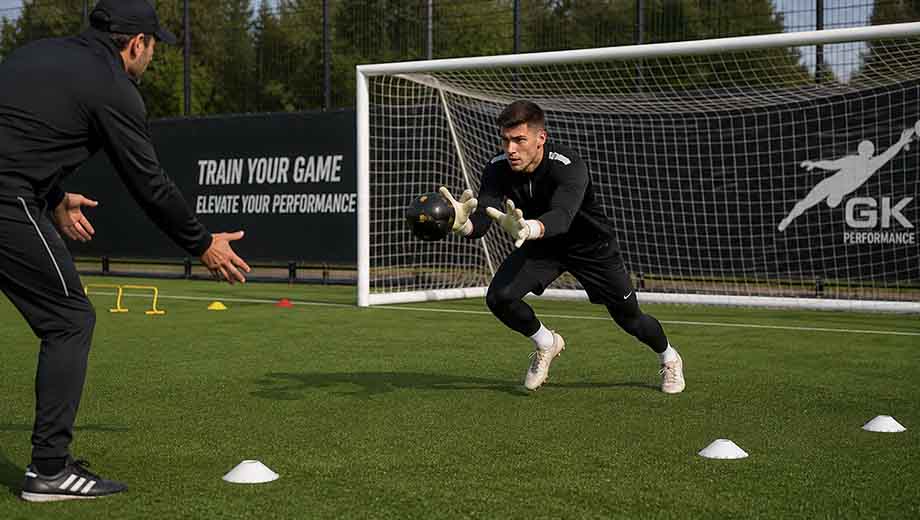
Drill 3: Reaction Ball Drops
A server drops a reaction ball from waist height. The goalkeeper must react and collect or parry it before the second bounce. This is one of the most effective goalkeeper reflex drills because the ball’s irregular shape creates genuinely unpredictable bounces.
| Sets | Reps / Duration | Rest | Equipment | Difficulty | Football Benefit |
| 3 | 12 drops per set | 40 sec | Reaction ball | Beginner | Develops first-reaction speed and hand-eye coordination |
How to perform this drill:
- The goalkeeper faces the server at a distance of 3 to 4 yards.
- Server holds the reaction ball at waist height and drops it without warning.
- Goalkeeper explodes forward and catches or parries before the second bounce.
- Reset, step back, and repeat.
- Progress to angled drops on either side as ability improves.
Common mistake: Anticipating the drop and moving early. The whole point is to wait for visual confirmation and then react that is exactly what happens when a shot deflects off a defender in a match.
Coaching tip: Have the server turn slightly sideways so the drop is less telegraphed. You can also do this drill at home in a garden or hallway it requires almost no space.
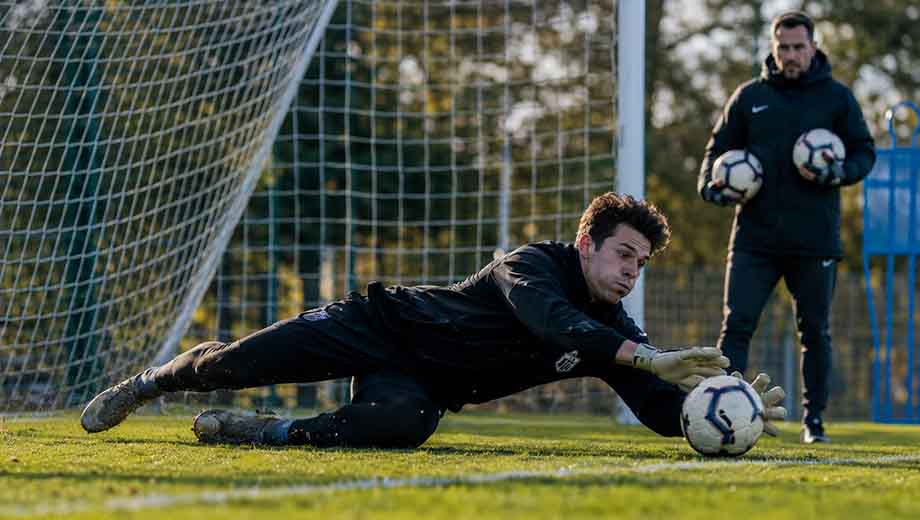
Drill 4: Diving Technique Progressions
A staged progression drill starting from a kneeling position and building to full standing dives. This teaches correct body shape and hand placement while reducing injury risk. Every goalkeeper training programme should include this progression, particularly for players under 16.
| Sets | Reps / Duration | Rest | Equipment | Difficulty | Football Benefit |
| 3 per stage | 6 dives per stage | 60 sec | Goal, balls, server | Beginner–Intermediate | Builds correct diving mechanics safely |
How to perform this drill:
- Stage 1 (Kneeling): From the knees, the server rolls the ball to either side. The goalkeeper collapses toward the ball, leading with the bottom hand.
- Stage 2 (Squat): Same movement from a squat position, adding a small push off the ground.
- Stage 3 (Standing): Full standing position. The server plays balls to the low corners.
- Land on the side of the body, not the stomach or chest. Gather the ball against the body immediately.
- Repeat on both sides equally do not favour the dominant side.
Common mistake: Diving forward instead of laterally. Forward dives close the angle too aggressively and increase the chance of a collision or injury.
Coaching tip: Film the goalkeeper from behind the goal. I started doing this with a phone on a tripod, and the keepers were often surprised by how different their body shape looked compared to how it felt. Video feedback accelerates improvement faster than any verbal instruction.
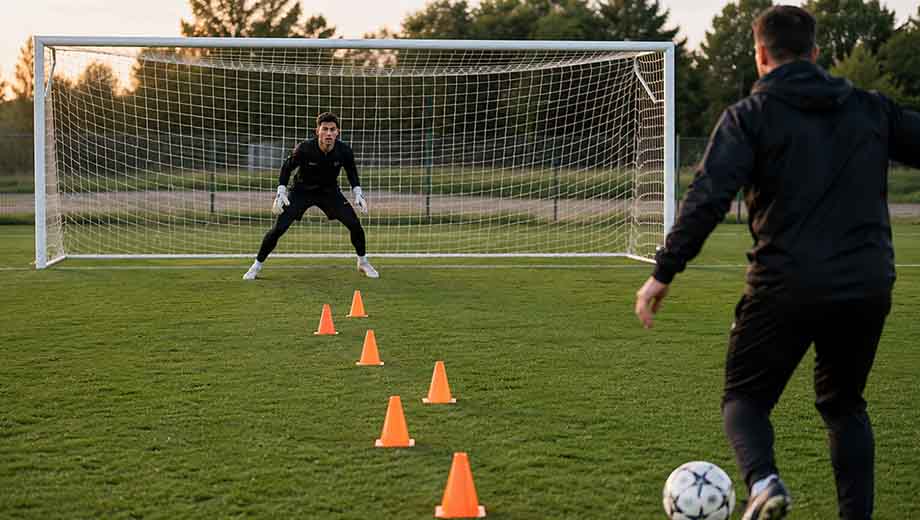
Drill 5: Cone Weave and Save
Combines footwork through a cone weave with an immediate shot-stopping task, training the transition from movement to a ready position. This mirrors the moments in a match where a goalkeeper has to adjust position quickly and then face a shot.
| Sets | Reps / Duration | Rest | Equipment | Difficulty | Football Benefit |
| 4 | 8 reps per set | 45 sec | 6 cones, goal, balls | Intermediate | Links footwork to shot-stopping under fatigue |
How to perform this drill:
- Set 6 cones in a zigzag line, 2 yards apart, starting 6 yards from goal.
- Goalkeeper weaves through all cones at pace.
- As soon as the last cone is cleared, the server fires a shot.
- Goalkeeper must set their feet into a save-ready position before the shot arrives.
- Vary shot direction each rep.
Common mistake: Slowing down at the last cone to prepare for the shot. That defeats the purpose. The value of this drill is learning to react while your legs are still moving and your heart rate is elevated exactly what happens in open play.
Coaching tip: Time the server’s release to just before the goalkeeper exits the last cone. The closer the timing, the more match-realistic the drill becomes.
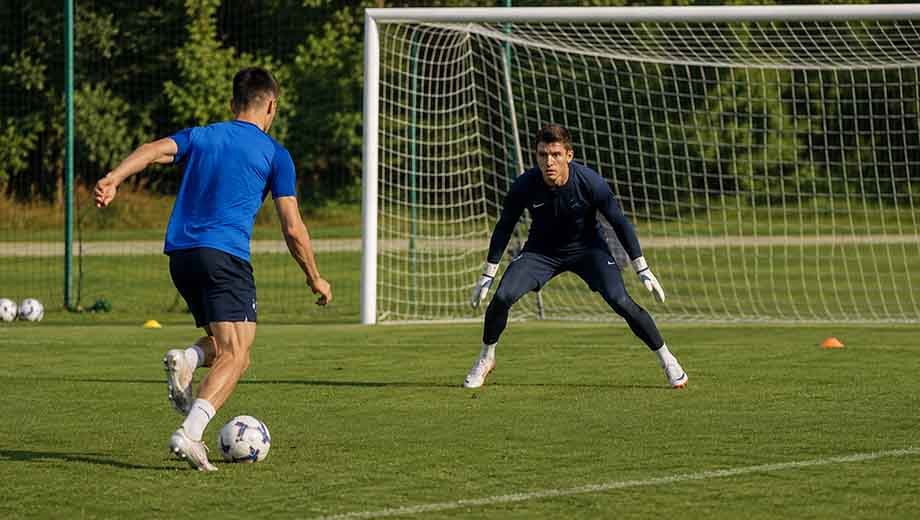
Drill 6: One vs One Angle Closing
Trains the goalkeeper to close down a striker in a one-on-one situation using correct body shape and timing. One-on-ones are often decided by the goalkeeper’s positioning in the two seconds before the shot, not by the dive itself.
| Sets | Reps / Duration | Rest | Equipment | Difficulty | Football Benefit |
| 3 | 6 reps per set | 60 sec | Goal, balls, striker or server | Intermediate | Improves 1v1 decision-making and positioning |
How to perform this drill:
- Striker starts 25 yards from goal with the ball.
- Goalkeeper starts on the goal line.
- On the coach’s signal, both move. The goalkeeper advances to close the angle.
- Goalkeeper sets their feet just before the striker shoots or dribbles.
- Objective: make the save, parry wide, or force the striker away from goal.
Common mistake: Diving too early. Over-committing is the most common reason goalkeepers lose one-on-one situations. Stay on your feet as long as possible. Make yourself large and steady. Let the striker make the first move.
Coaching tip: Think of it as making the goal disappear. If you are positioned correctly and your body shape is right, the striker has very little goal to aim at. That is when they make mistakes. You can read more about positioning principles in our guide to improving penalty-kick technique.
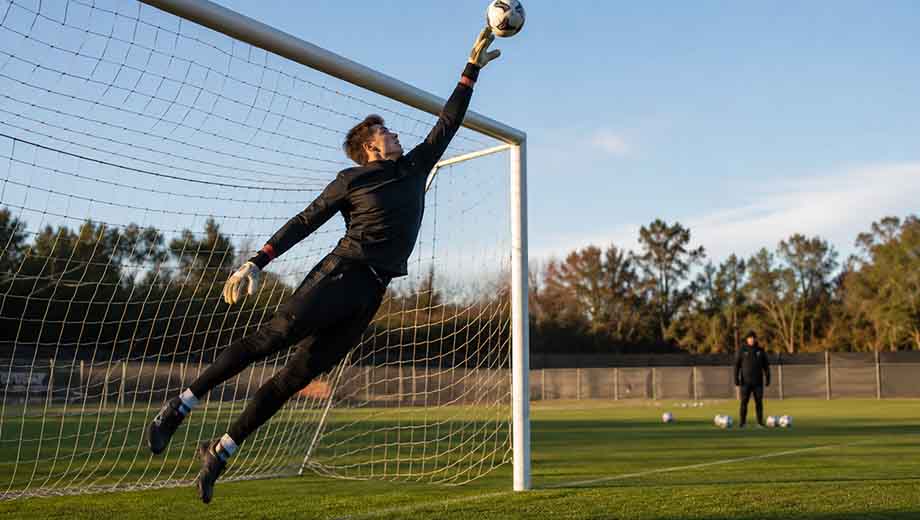
Drill 7: Tipping Over the Bar
Builds the specific wrist and finger strength needed to tip powerful shots over the crossbar rather than parrying them back into the danger area.
| Sets | Reps / Duration | Rest | Equipment | Difficulty | Football Benefit |
| 3 | 8 reps per set | 45 sec | Goal, balls, server | Intermediate | Trains correct hand shape for high saves |
How to perform this drill:
- Server drives a ball at pace toward the top corners.
- Goalkeeper reaches and tips the ball over the bar using the fingertips not the palm.
- Focus on wrist extension and finger strength at the point of contact.
- Start with slower serves and increase pace as technique improves.
- Alternate between left and right corner shots.
Common mistake: Using the flat of the palm. A palm contact often deflects the ball back into play or down onto the crossbar. Fingertip contact gives you control over the direction of the deflection.
Coaching tip: Off the pitch, practise fingertip push-ups to build the specific strength this save demands. Start against a wall if full fingertip push-ups on the floor are too difficult. Two sets of ten, three times a week, makes a noticeable difference within a month.
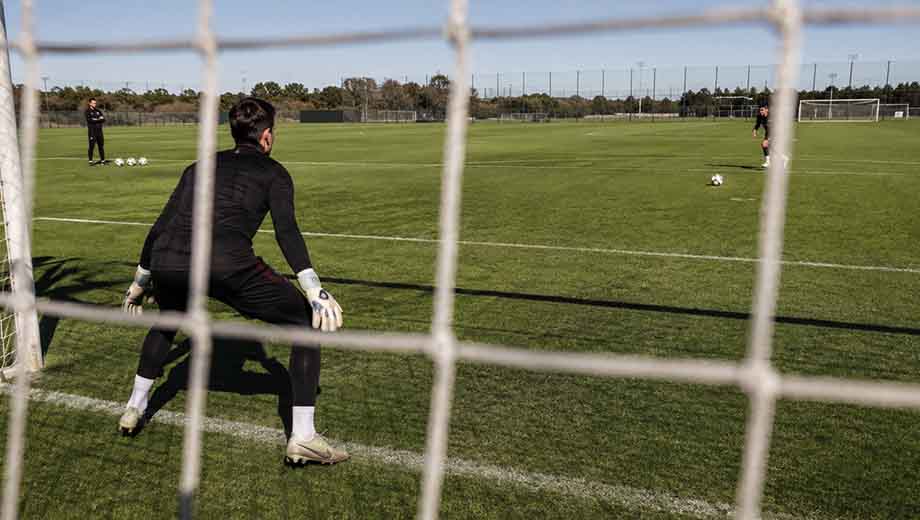
Drill 8: Penalty Save Technique
Trains the goalkeeper to maximise their chances in penalty situations through movement timing and reading the taker’s body language.
| Sets | Reps / Duration | Rest | Equipment | Difficulty | Football Benefit |
| 2 | 5 penalties per set | 90 sec | Goal, balls, penalty taker | All Levels | Builds penalty-save confidence and decision-making |
How to perform this drill:
- Goalkeeper starts on or just behind the goal line.
- Taker approaches in their natural style.
- Goalkeeper stays still, reading the body shape of the taker, particularly the plant foot and hip angle.
- Move only when the kicking foot makes contact with the ball.
- After each penalty, note which side the taker chose and whether their body language gave it away.
Common mistake: Committing too early. An experienced penalty taker will spot early movement and change direction. Discipline and patience save more penalties than athleticism.
Coaching tip: Keep a written log of every penalty taker you face in training and competitive matches. Record their preferred side, their approach angle, and any tells. Over a season, this data becomes genuinely valuable.
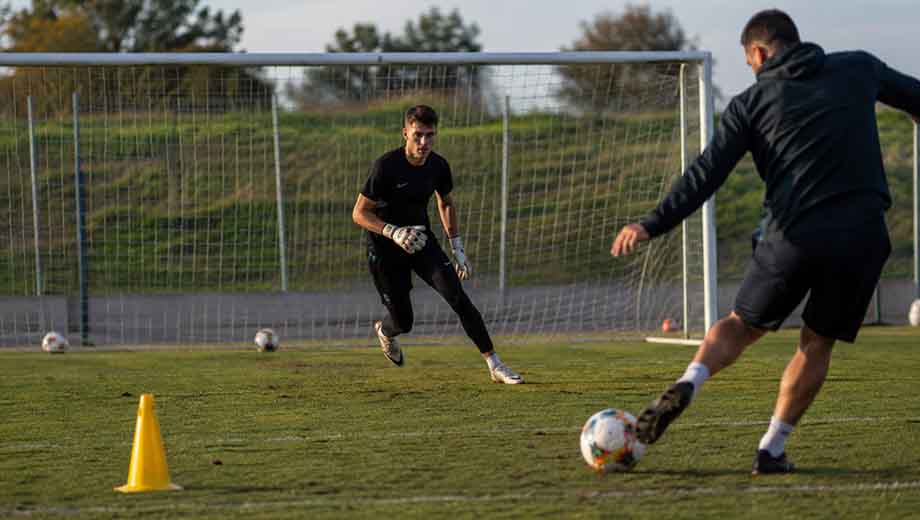
Drill 9: Footwork and Breakout Combination
Combines a footwork sequence with a sprint and a technical save. This is the closest you can get to simulating what a goalkeeper faces during fast transitions in live matches, and it is the most physically demanding drill in this programme.
| Sets | Reps / Duration | Rest | Equipment | Difficulty | Football Benefit |
| 3 | 6 reps per set | 60 sec | Cones, goal, balls, server | Advanced | Links physical conditioning with technical execution |
How to perform this drill:
- Set a cone 10 yards outside the penalty area.
- Goalkeeper sprints from the goal line to touch the cone.
- Sprint back toward goal. Server fires a shot as the goalkeeper reaches the penalty spot.
- Goalkeeper must set their feet and make the save.
- Vary shot height and direction each rep.
Common mistake: Slowing the sprint too early to prepare for the save. The difficulty of reacting while your body is still moving is the entire point. Embrace the discomfort.
Coaching tip: Reduce the rest period by 5–10 seconds each week over a four-week training block. This builds cardiovascular conditioning alongside technical skill, which is how real matches work. For broader conditioning ideas, see our football fitness weekly plan.
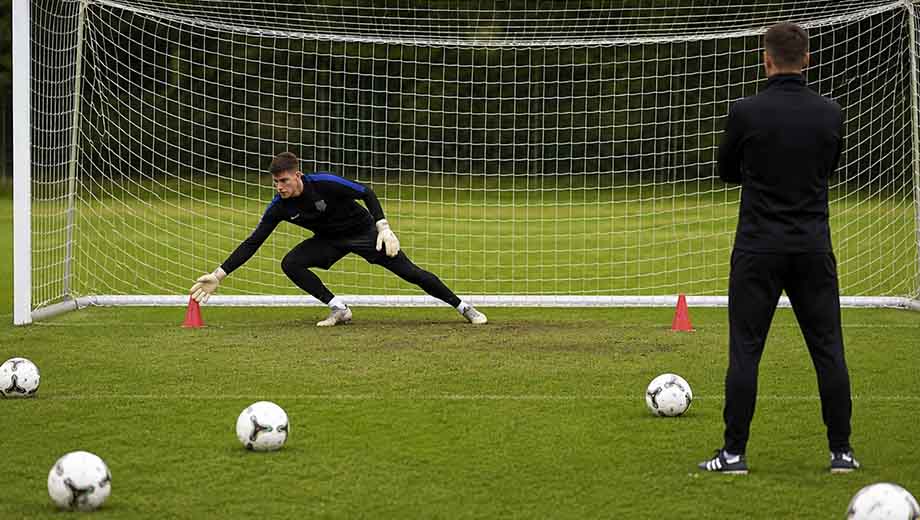
Drill 10: Post-to-Post Lateral Movement
A pure goalkeeper footwork drill that trains movement across the goal at speed without crossing the feet, keeping the keeper balanced and ready for a save at any moment.
| Sets | Reps / Duration | Rest | Equipment | Difficulty | Football Benefit |
| 4 | 10 reps per set | 30 sec | Goal, cones | Beginner | Builds lateral movement speed and balance |
How to perform this drill:
- Set two cones inside each post at the goal line.
- Goalkeeper sidesteps from one cone to the other, touching each with the nearest hand on arrival.
- Do not cross the feet at any point during the movement.
- Maintain a low, wide ready position throughout knees bent, weight on the balls of the feet.
- Progress by having a server fire a shot as the goalkeeper touches the far cone.
Common mistake: Standing too upright. A high centre of gravity slows lateral movement significantly and makes it harder to push off into a dive.
Coaching tip: Play a metronome on your phone and set it slightly faster than the goalkeeper’s comfortable pace. It is a simple trick, but it forces them to push beyond their natural rhythm. Increase the tempo by two to three beats per minute each week.
Simple Weekly Training Routine
Here is a basic weekly plan using the drills above. Each session takes about 45 to 60 minutes, including a warm-up.
| Day | Focus | Drills |
| Monday | Reflexes and shot-stopping | 4, 5, 8 |
| Tuesday | Rest or light cardio | — |
| Wednesday | Footwork and positioning | 1, 7, 10 |
| Thursday | Diving and handling | 3, 2, 6 |
| Friday | Match simulation | 9, 4, 7 |
| Saturday | Light session or rest | Pick any 2 drills |
| Sunday | Full rest | — |
If you play a midweek match, skip Thursday and keep Friday light. Recovery is more important than extra volume.
Goalkeeper Training Tips
Film your sessions. Even a phone behind the goal gives you information your coach cannot explain in words. Most goalkeepers are surprised when they see how they actually move compared to how it feels.
Work your weak side. Most goalkeepers make 60 to 70 percent of their saves toward their stronger side. Balance this by starting every set on your weaker side.
Respect rest periods. The rest times listed in each drill are not suggestions. Cutting rest makes you tired, and training your reflexes while exhausted just trains you to be slow. Reflex work and fitness work are different things.
Warm up properly. Cold muscles do not react well and are easier to injure. Spend 10 minutes warming up before any session. Light jogging, dynamic stretches, and easy catches are enough.
Common Training Mistakes
Only facing shots. Shot-stopping is one part of goalkeeping. If you spend every session just facing shots, your footwork, handling and positioning will stay weak. A balanced training session mixes at least two different skill areas.
Skipping the reset. After every save in training, you should get back to the centre of your goal before the next shot. In a match, nobody waits for you to get up. Build this habit now so it becomes automatic.
Guessing instead of reacting. If your training partner always shoots in the same pattern, you learn to guess rather than react. That feels good in training but fails in a match. Make sure shots are random and unpredictable.
Ignoring distribution. Modern goalkeepers start attacks. If you can make a great save but then give the ball straight to the opposition, you have wasted the effort. Practise throwing and passing in every session.
Training through pain. If something hurts, stop. A pulled muscle from pushing through discomfort can keep you out for weeks. Always warm up before training, and see a physiotherapist if you have ongoing pain. Missing one session is better than missing a whole month.
Frequently Asked Questions
How often should I train as a goalkeeper?
Three to four sessions per week is a good target. Allow at least one full rest day between intense sessions so your body can recover.
Can I do goalkeeper drills at home?
Yes. Footwork drills, reaction ball drops, and lateral movement exercises need very little space. A garden, driveway or hallway works fine.
What are the best drills for a beginner goalkeeper?
Start with footwork (Drill 1), low shot handling (Drill 2), and diving technique (Drill 3).These cover the basics without being too complex.
How long should a training session last?
Aim for 45 to 60 minutes, including warm-up and cool-down. Longer sessions lead to tiredness, and tired practice builds bad habits.
At what age should young players start goalkeeper training?
Around age 10 to 11 for basic position-specific work. Before that, general coordination and ball skills are more useful. From 12 to 14, structured drills with a focus on technique are appropriate.
Conclusion
You do not need to be the most athletic goalkeeper on the pitch. The keepers who actually get better are the ones who train regularly, stick to a simple plan, and work on one or two things each session instead of rushing through everything.
Start this week with three basic goalkeeper drills footwork, reaction ball drops, and diving technique. These goalkeeper training exercises do not need much equipment, and they build the foundation that every other skill depends on. Once you feel comfortable after two or three weeks, add a match-style drill like the cone weave and save, cross claiming, or one-on-one saves.
Use the weekly plan above to organise your goalkeeper practice sessions. Try to film yourself at least once a week. What your body does during a drill often looks very different from how it feels, and watching it back helps you fix mistakes faster than anything else.
If you want to improve beyond just goalkeeper training, check out our guides on football warm-up drills and weekly fitness plans for amateur players. These will help you build overall strength and endurance alongside your goalkeeper footwork drills and reflex work.
At the end of the day, doing a small number of goalkeeper exercises well and doing them every week will always beat random, unstructured sessions. Keep it simple, stay consistent, and the results will come.
